How to Create Shipping Labels: Complete Step-by-Step Guide


In the world of e-commerce and online selling, knowing how to create shipping labels is a fundamental skill. Whether you're a small business owner running a side hustle or just someone sending a gift to a friend, doing it yourself saves you significant time and money compared to waiting in line at the post office.
A properly created shipping label ensures your package arrives quickly, safely, and at the best possible rate. This comprehensive guide will walk you through everything you need to know about creating shipping labels in 2024, covering the three main methods, best practices, and common pitfalls to avoid.
Why Creating Your Own Shipping Labels is a Game-Changer
Before we dive into the "how," let's quickly cover the "why." Creating your own shipping labels online offers several key advantages:
-
Cost Savings: You almost always get commercial pricing (discounted rates) that are lower than retail counter prices.
-
Convenience: Skip the lines! You can create and pay for labels 24/7 from your home or office.
-
Professionalism: Printed labels look neat and professional, building trust with your customers.
-
Efficiency: Batch process multiple orders in minutes. Most platforms integrate directly with marketplaces like eBay, Etsy, and Amazon.
-
Automated Tracking: Tracking numbers are automatically generated and often sent to your customer for you.
What You'll Need Before You Start
Gather this information first to make the process smooth:
-
Sender's Address: Your complete return address.
-
Recipient's Address: The complete and accurate delivery address. Double-check for typos!
-
Package Details:
-
Weight: The weight of your package in pounds and ounces or kilograms. Use a digital scale for accuracy—guessing will cost you.
-
Dimensions: The length, width, and height of the box or mailer.
-
-
Shipping Service: Know your preferred service (e.g., USPS Priority Mail, FedEx Ground, UPS 2nd Day Air).
Method 1: How to Create Shipping Labels Through Carrier Websites (USPS, FedEx, UPS)
This is the most direct method and is perfect for those who ship occasionally or with a single carrier.
Creating a USPS Shipping Label
-
Go to USPS.com and click "Ship" in the top menu. You will need to create a free USPS account.
-
Enter Details: Input the recipient's and sender's addresses.
-
Select Mail Class: Choose your service (First Class, Priority Mail, etc.) based on speed and price.
-
Enter Package Info: Input the weight and dimensions. You will see the price update.
-
Extras: Add any extra services like insurance or signature confirmation.
-
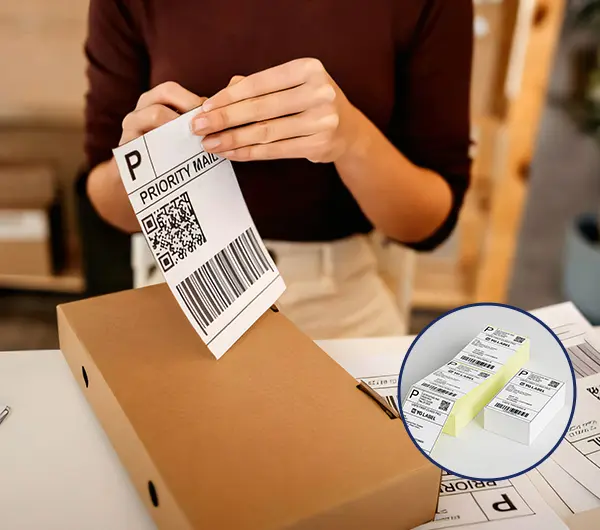
Pay and Print: Pay with a credit card, then print the label on standard paper. You can use a regular printer and tape the label securely to your box, or use adhesive label paper.
Creating a FedEx Shipping Label
-
Log in to your FedEx account on FedEx.com.
-
Click "Ship Now" and fill in the shipping details.
-
Choose Rate & Transit Time: Select the service that fits your needs and budget.
-
Pay and Print: Complete the payment and print your label.
Creating a UPS Shipping Label
The process for UPS is nearly identical:
-
Log in to your UPS.com account.
-
Use the "Create a Shipment" tool.
-
Fill in the addresses, package details, and select your service (UPS Ground, 2nd Day Air, etc.).
-
Pay and print your label.
Pro Tip: Always compare rates between carriers for your specific package. A small, light package is often cheapest with USPS, while heavier boxes can be more affordable with FedEx or UPS.
Method 2: How to Create Shipping Labels with Online Shipping Platforms (The Best Method for Businesses)
For those who ship regularly, especially e-commerce sellers, dedicated shipping platforms are the most efficient choice. They aggregate rates from all major carriers in one place.
How it works:
-
Create a Free Account: Most offer free basic accounts.
-
Connect Your Store (Optional): Integrate with eBay, Shopify, WooCommerce, etc., to import orders automatically.
-
Create a Label: Manually enter an address or select an imported order.
-
Compare Rates Instantly: See the best prices from USPS, UPS, and FedEx side-by-side.
-
Purchase and Print: Buy the label and print it directly. Many platforms offer even deeper discounts than going directly to the carrier, especially on USPS Priority Mail cubic rates.
This method is highly recommended for its time savings, cost efficiency, and excellent batch processing tools.
Method 3: How to Create Shipping Labels at the Post Office or Retail Store
Sometimes, the digital methods aren't an option. You can still create a label in person.
-
Go to the Post Office/UPS Store/FedEx Office: Take your package with you.
-
Provide the Address: Tell the clerk the destination address and your return address.
-
Weigh and Pay: They will weigh the package, tell you the available options and price, and you pay there.
-
They Print the Label: The clerk will generate and apply the label for you.
Note: This is the most expensive and least efficient method. It should be used as a last resort if you lack a printer or are dealing with an unusually shaped item.
Best Practices & Common Mistakes to Avoid
Creating the label is simple, but doing it right is key.
-
✅ Use a Thermal Printer: For the most professional, smudge-proof, and efficient labels, invest in a Dymo 4XL or Zebra thermal printer. No more ink, tape, or paper cuts.
-
✅ Double-Check Addresses: An incorrect address will cause delays, lost packages, and extra fees. Use address validation tools if your platform offers them.
-
✅ Weigh Accurately: This is crucial. If the carrier's automated systems find your package is heavier than you declared, they will charge your account (a "shipping adjustment") or bill the recipient upon delivery, leading to a very poor customer experience.
-
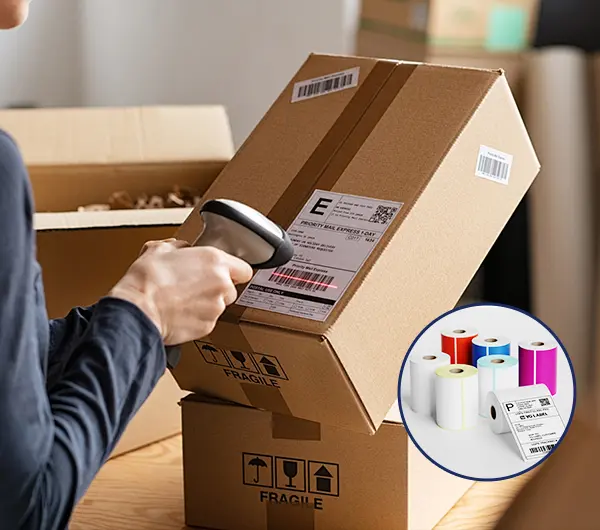
✅ Secure the Label Properly: Place the label in a clear shipping pouch or use full-coverage packing tape to secure it flat against the package. Ensure the barcode is perfectly scannable.
-
❌ Don't Handwrite: Handwritten labels are hard to read, look unprofessional, and are prone to damage. Always print.
-
❌ Don't Reuse Boxes: If you must reuse a box, ensure all old barcodes and labels are completely blacked out or removed to avoid scanning errors.
Frequently Asked Questions (FAQ)
Q: Can I create a shipping label without a printer?
A: Yes. Most carrier and platform websites allow you to purchase the label online and then print it at a carrier location (e.g., USPS using the "Hold for Pickup" option or at a FedEx Office). You will show them a QR code or your ID.
Q: What's the cheapest way to create a shipping label?
A: For small packages (under 1 lb), USPS First Class Package is typically the cheapest. For slightly larger boxes, compare USPS Priority Mail (especially Cubic pricing through platforms like Pirate Ship) with FedEx Ground and UPS Ground.
Q: Do I need special paper to print shipping labels?
A: No. You can print on standard 8.5" x 11" paper and use clear packing tape to secure it on all four edges. However, self-adhesive label paper (half-sheet or 4x6") or a thermal label printer is highly recommended for volume.
Q: Can I create a shipping label for international packages?
A: Absolutely. The process is very similar on carrier and third-party websites, but you will need to fill out a customs form digitally, declaring the contents and value of the package.
Conclusion
Knowing how to create shipping labels is no longer a complex task reserved for big businesses. With the tools available today, anyone can create professional, discounted labels in minutes from their computer.
To recap:
-
For occasional shipping, use the carrier's own website (USPS, FedEx, UPS).
-
For regular shipping and e-commerce, an online platform like Pirate Ship is the best choice for comparing rates and saving time.
-
Only go to the post office or retail store if you have no other option.
Now that you're equipped with this knowledge, you can ship with confidence, save money, and impress your customers with a seamless shipping experience. Happy shipping!


