

How to Apply Transfer Tape to Cut Vinyl Correctly



Transfer tape, also known as application tape, keeps vinyl letters and separate graphic elements together while they are moved from the vinyl release liner to the application surface.
The process looks simple, but small differences in pressure, peel angle and adhesive tack can change the result. A tape that works well with smooth gloss vinyl may behave differently on matte vinyl, textured film or very small lettering.
Quick Answer
Apply the transfer tape to fully weeded vinyl and press it down with firm, overlapping squeegee strokes.
For a small graphic, the vinyl release liner can usually be removed before positioning. For a medium or large design, keep the liner attached while measuring and aligning the graphic. Create a top or center hinge, then remove the liner gradually as the vinyl is applied.
Once the graphic is firmly pressed onto the surface, peel the transfer tape back slowly at a low angle.
This article covers the dry application method. Wet application should only be used when the vinyl and transfer tape supplier confirms that the material system is suitable for it.
Six Basic Application Steps
- Weed and inspect the vinyl.
- Choose and prepare the transfer tape.
- Press the tape onto the graphic.
- Position the design.
- Remove the vinyl liner and apply the graphic.
- Peel away the transfer tape.
Tools and Materials
A clean setup makes the job easier. Prepare:
- A cut and weeded vinyl graphic
- Suitable transfer tape
- A firm plastic squeegee
- A felt-edged squeegee when surface protection is needed
- Masking tape
- A ruler or measuring tape
- A clean cloth and suitable surface cleaner
- Scissors or a cutting knife
- A clean, flat work surface
Dust and loose vinyl particles can reduce adhesive contact, especially around small letters and thin lines.
The application surface should also be clean, dry and compatible with the vinyl adhesive.
Step 1: Weed and Inspect the Vinyl
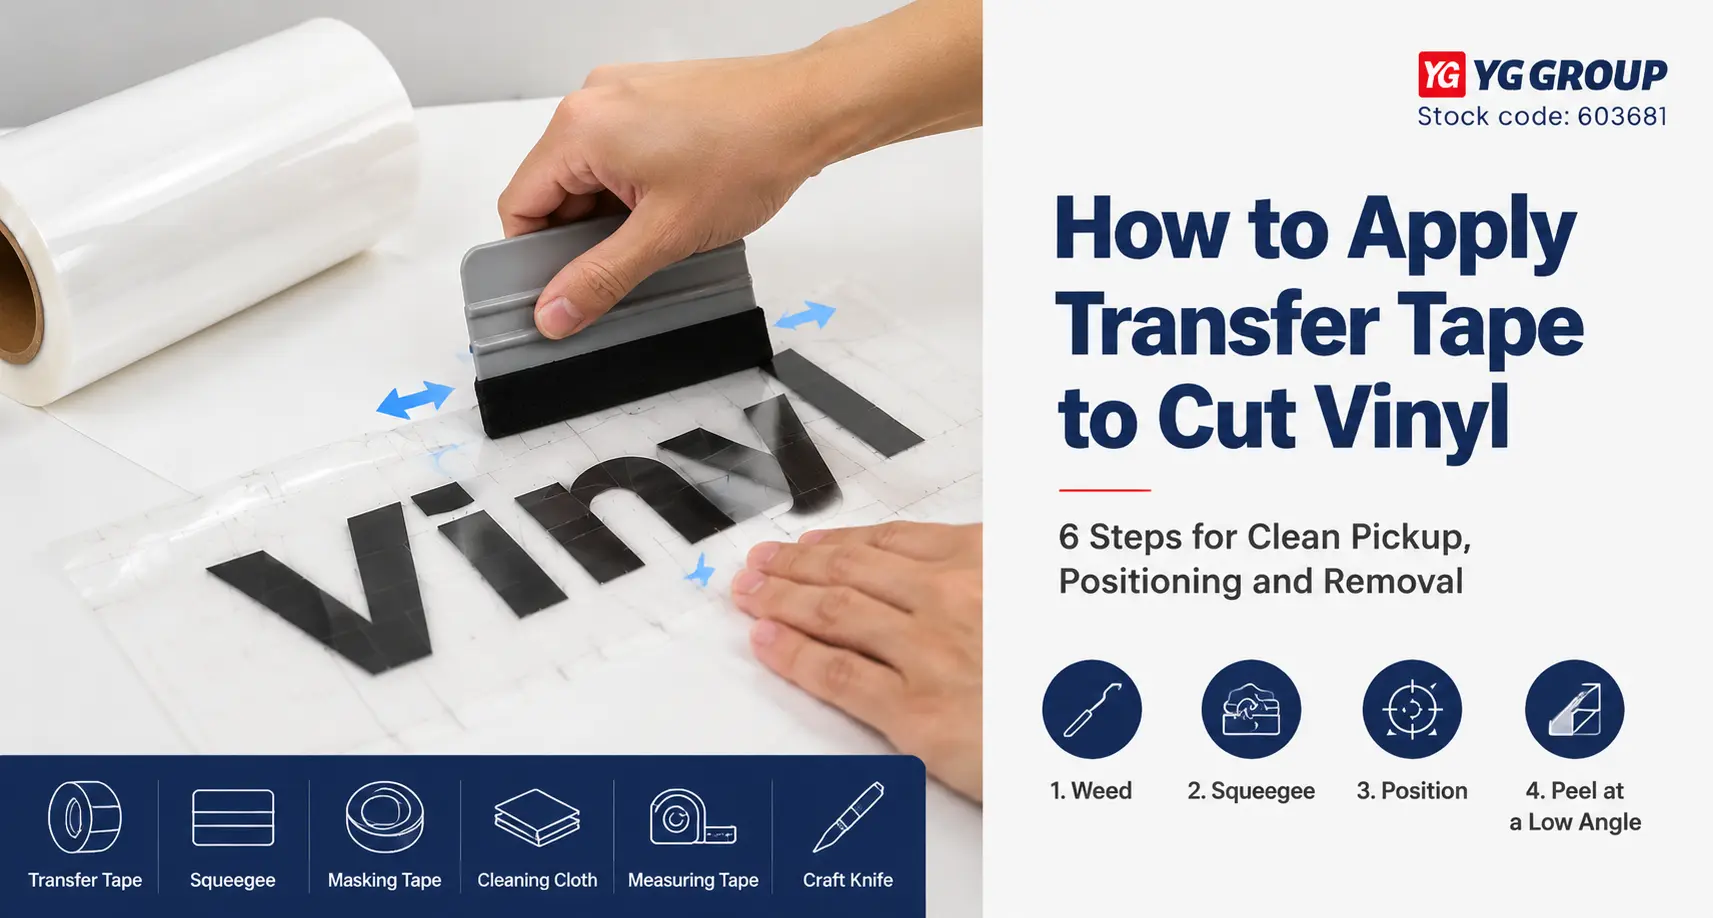
Remove the unwanted vinyl around the letters, shapes and cut details. This includes the outer waste, the centers of letters and any loose material around fine lines.
Before applying transfer tape, look closely at the finished design. Small text, sharp corners and narrow elements are usually the first areas to fail if the cut is incomplete.
Cutting depth also matters.
If the blade cuts too deeply, it may damage the vinyl release liner. That can make clean pickup more difficult. If the cut is too shallow, the design may not separate correctly during weeding.
Do not move on until the full graphic has been weeded and every required element is still attached to the liner.
Step 2: Choose and Prepare the Transfer Tape
The transfer tape needs enough pickup force to lift the cut vinyl, but it should not be so aggressive that removal becomes difficult after installation.
The most important factors are:
- The vinyl surface
- The size and detail of the graphic
- Release liner force
- Adhesive tack
- Preferred film handling
Smooth gloss vinyl often requires less pickup force than matte or textured vinyl.
PET transfer tape is often evaluated for small letters and detailed graphics because the film provides good dimensional stability.
PVC transfer tape may be preferred when the installer wants a thicker film and a more noticeable handling feel.
For a more detailed comparison, see our PVC vs PET Transfer Tape guide.
Cut the transfer tape slightly larger than the vinyl design. A small border around the graphic makes handling and positioning easier.
For linered transfer tape, remove the transfer tape liner gradually while laminating the film to the vinyl. The original vinyl release liner remains underneath the graphic until the installation stage.
Step 3: Press the Transfer Tape onto the Vinyl
Place the weeded graphic on a flat surface with the vinyl facing upward.
Align the transfer tape before the adhesive makes contact. For a small design, lower the tape gradually from one edge. For a larger design, temporarily secure one edge and work across the graphic in sections.
Avoid pulling the film tight. Stretching can change the spacing between letters and separate graphic elements.
Use the squeegee from the center or secured edge and move outward with overlapping strokes. Pay close attention to:
- Letter edges
- Thin lines
- Corners
- Separate graphic elements
- Larger solid areas
The aim is even contact across the entire design, not simply heavy pressure in a few places.
Step 4: Position the Graphic
Clean the application surface before measuring or aligning the design.
Small Graphics
A small, easy-to-control graphic may not need a hinge.
Check the position first. Once the vinyl liner is removed, place the design carefully because repositioning may be limited.
Medium and Large Graphics
Keep the vinyl release liner attached while checking alignment.
Use a ruler, masking tape or removable marks to confirm the height, distance from edges and relationship to nearby graphics.
For these larger designs, use either a top hinge or a center hinge.
Top Hinge
Place the graphic in position with the vinyl release liner still attached. Secure the top edge to the application surface with masking tape.
The taped edge holds the design in place while the liner is removed and the vinyl is applied from top to bottom.
Center Hinge
Position the graphic and place masking tape across the center.
This divides the design into two sections. One half can be applied first, followed by the other.
Keeping the liner attached during positioning helps prevent premature adhesive contact and misalignment.
Step 5: Remove the Vinyl Liner and Apply the Graphic
Small Graphics
Turn the graphic over so the vinyl release liner faces upward.
Peel the liner back slowly at a low angle, keeping it close to the graphic rather than pulling it straight upward.
When a letter remains on the liner, stop. Lower the liner, press that area again and continue at a lower angle.
Once the liner has been removed, place the graphic onto the application surface and press it down with the squeegee.
Medium and Large Graphics
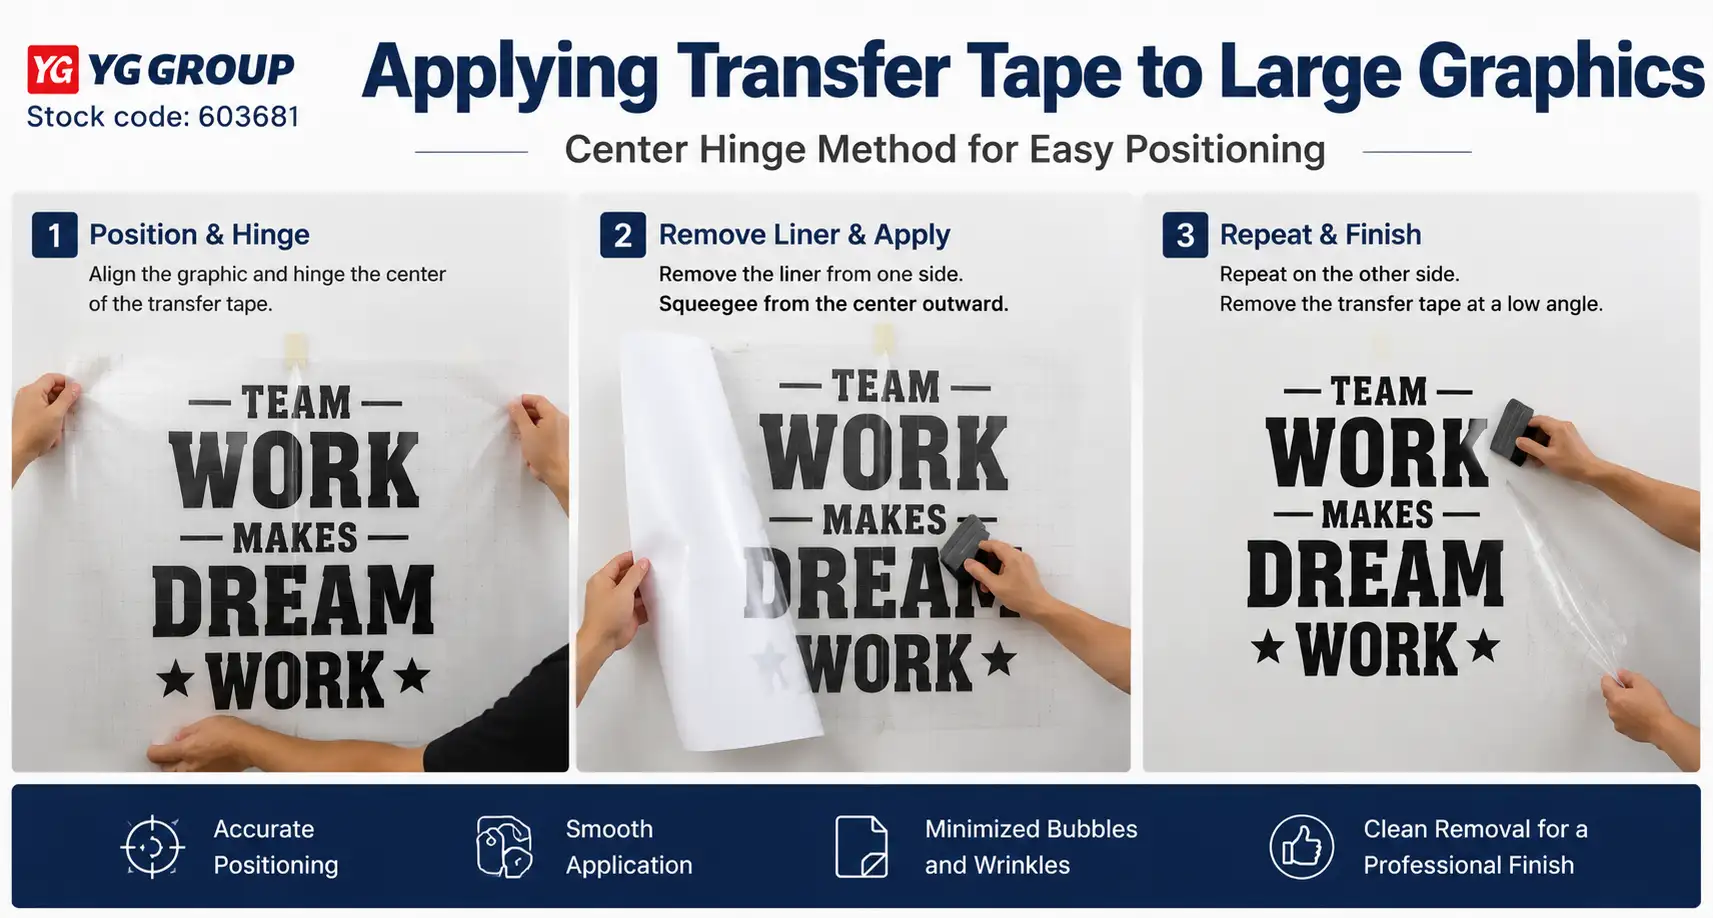
After the top or center hinge is in place, lift one section of the graphic.
Peel back part of the vinyl release liner and fold it away from the working area. Lower the vinyl gradually while pressing it onto the application surface.
For a center hinge, complete one side before moving to the other.
Do not remove the full liner before the graphic has been positioned and secured. Applying the vinyl in sections gives the installer more control and reduces the risk of wrinkles or misalignment.
Work from the hinge outward. Use overlapping strokes and pay additional attention to small letters, sharp corners and narrow lines.
The transfer tape only holds the design together. The final bond is created by the vinyl adhesive and depends on the surface condition, application temperature and application pressure.
Step 6: Remove the Transfer Tape
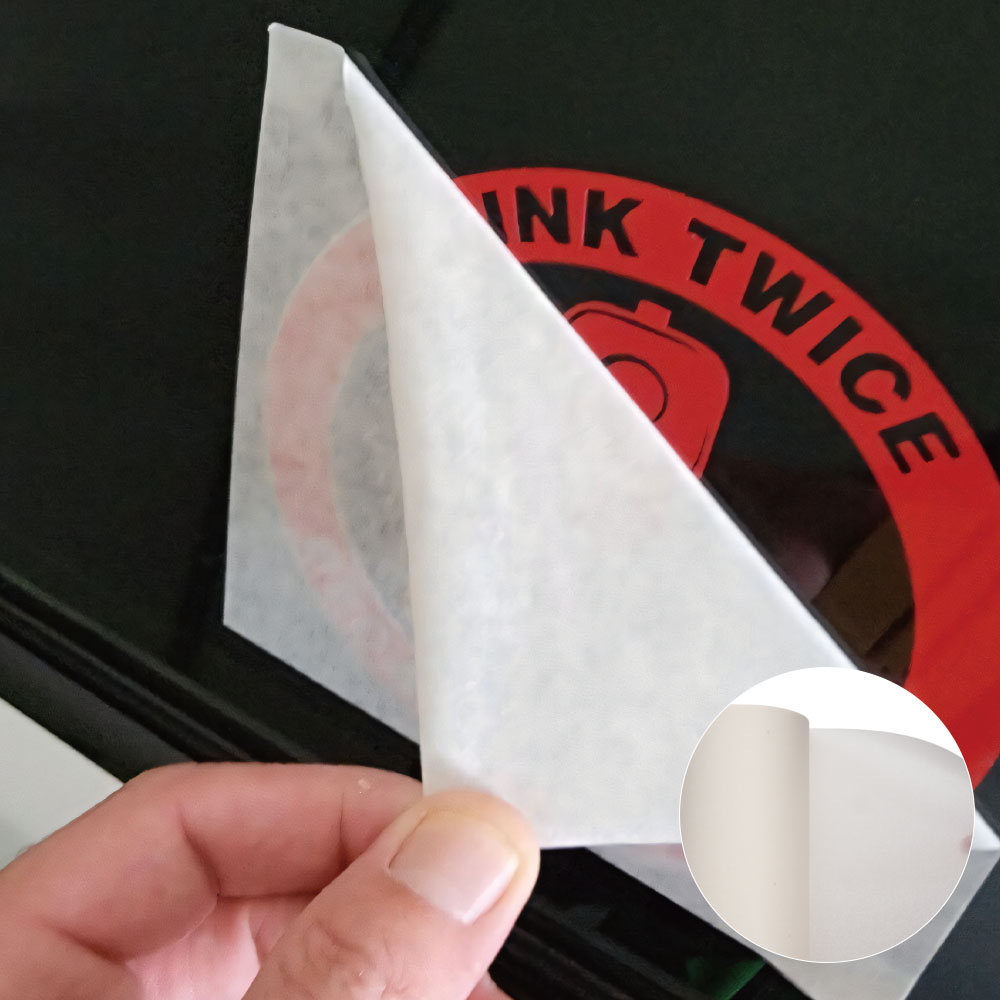
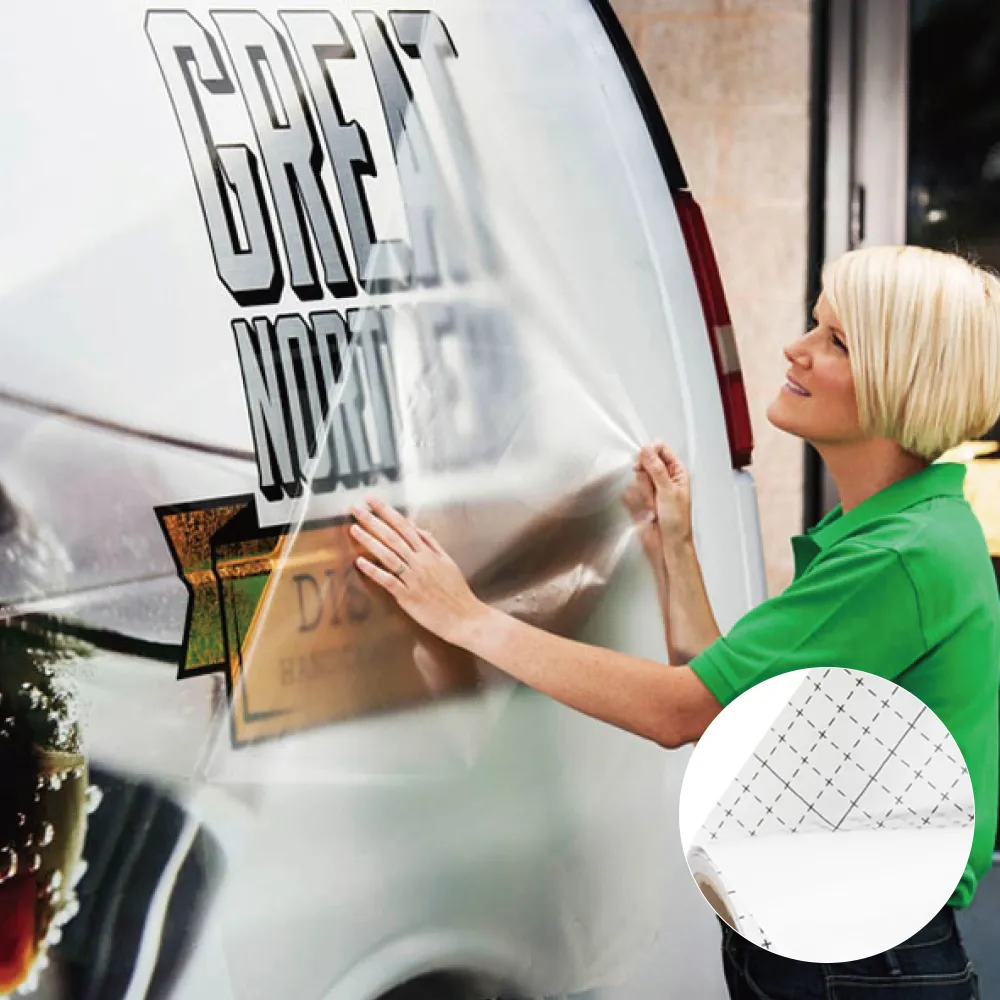
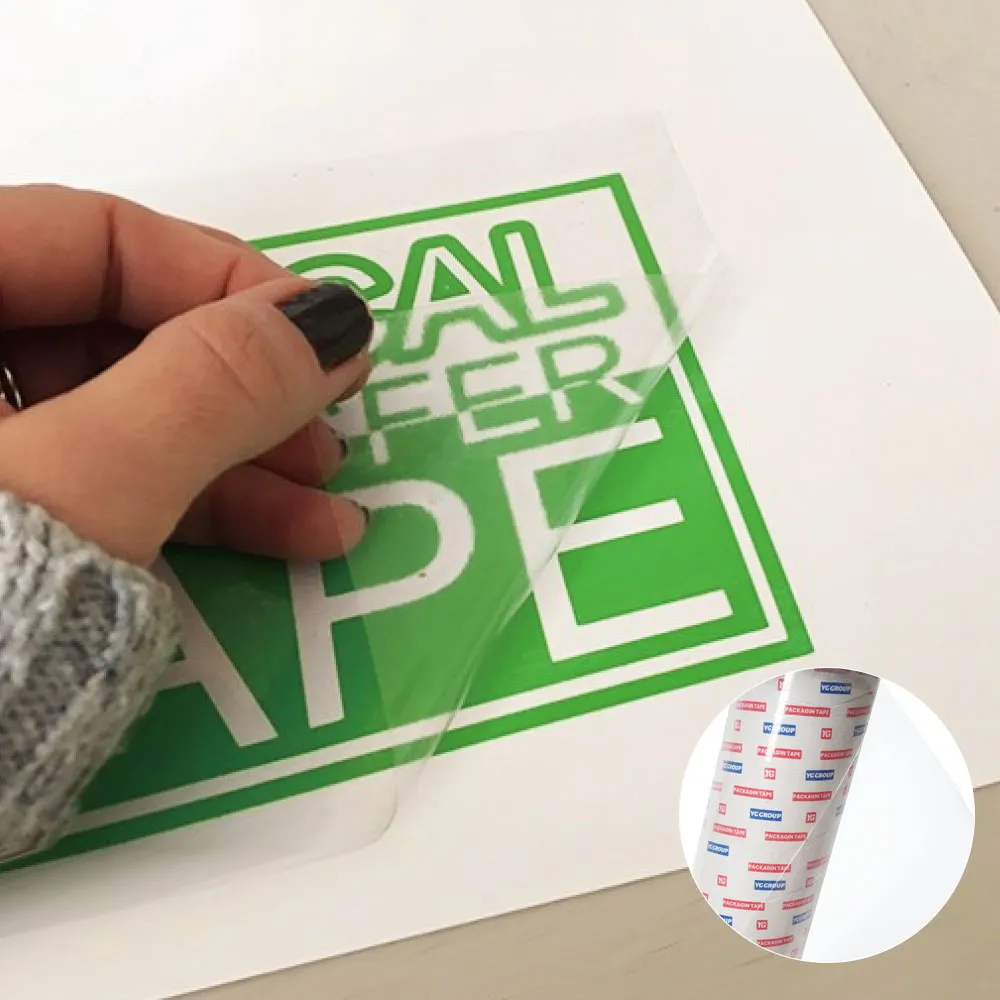
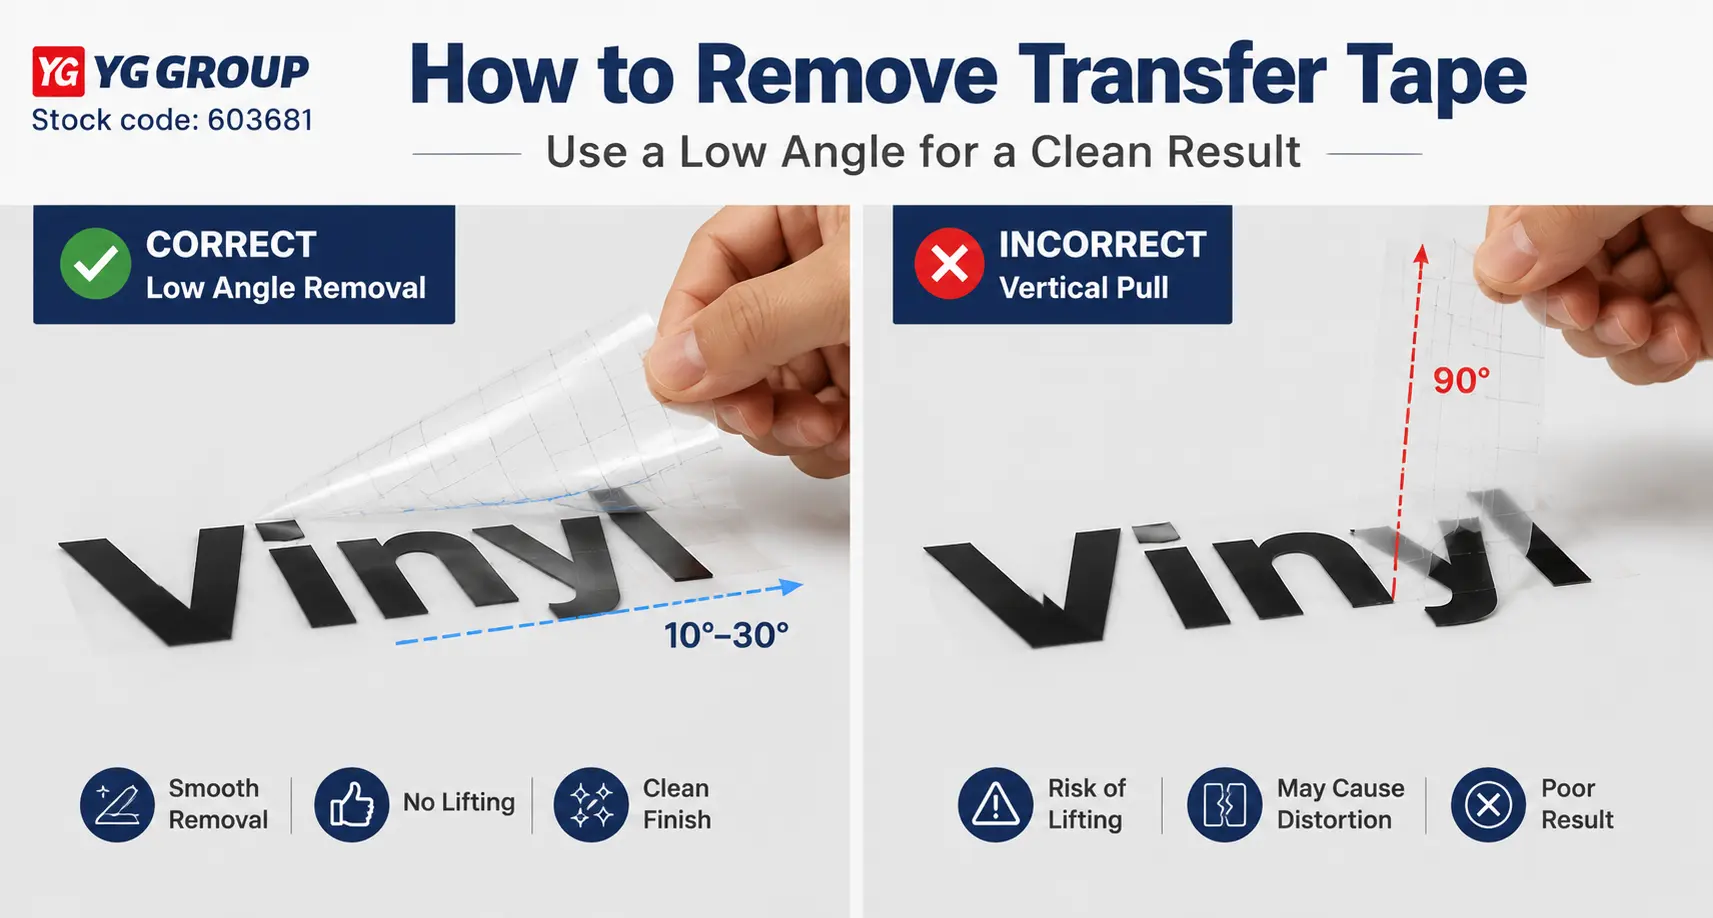
Once the vinyl has been pressed firmly onto the application surface, peel the transfer tape back slowly at a low angle.
Do not pull the tape vertically. A steep removal angle places more upward force on the vinyl.
Watch the design as the tape is removed. When a letter starts to lift, lower the transfer tape, press the area again and continue more slowly.
Some vinyl products may require additional pressure or a short bonding period before the transfer tape is removed. Follow the vinyl supplier’s instructions when this applies.
Fine text, narrow corners and soft vinyl graphics need more careful removal than larger solid shapes.
Common Mistakes to Avoid
- Do not stretch the transfer film.
- Do not remove the liner before positioning a large graphic.
- Do not pull the liner or transfer tape vertically.
- Do not select higher tack without testing.
- Do not apply vinyl to a dirty or wet surface.
Common Application Problems
The Vinyl Does Not Lift from the Release Liner
This usually means the transfer tape does not have enough contact or pickup force.
The cause may be low tack, a matte or textured vinyl surface, strong liner release force, uneven squeegee pressure, cutting problems or contamination.
Lower the liner, press the area again and peel more slowly at a low angle.
When pickup still fails, evaluate another tack level using the same vinyl and liner. Changing several variables at once makes the result harder to judge.
The Vinyl Lifts with the Transfer Tape
When the vinyl lifts from the application surface during transfer tape removal, check more than the transfer tape itself.
Possible causes include:
- A dirty, wet or difficult-to-bond surface
- An unsuitable vinyl adhesive
- Insufficient application pressure
- Incorrect temperature
- Excessive transfer tape tack
- A steep removal angle
- Insufficient bonding time
Press the graphic again and peel the transfer tape more slowly.
Final bonding depends mainly on the vinyl adhesive and application surface.
Wrinkles Appear While Applying the Transfer Tape
Wrinkles are often caused by uneven tension, poor alignment or applying the film too quickly.
They may also form when the transfer tape stretches or folds onto itself.
Lower the film gradually and use controlled, overlapping strokes. For machine lamination, check roll alignment, tension, core size and winding direction.
Small Letters Move Out of Position
Small elements may shift when the transfer film stretches, the vinyl is not fully secured or the release liner is removed too quickly.
Press every letter edge and keep the liner close to the graphic during removal.
Small-letter tip: Small letters need sufficient pickup force, not simply the highest tack available. Excessive tack may create a new problem when the transfer tape is removed.
Air Is Trapped Between the Transfer Tape and Vinyl
A few small air pockets do not always prevent successful transfer.
Larger bubbles may reduce contact around the vinyl or make positioning more difficult. Apply the transfer tape gradually and use overlapping squeegee strokes rather than pulling or stretching the film.
Applying Transfer Tape to Large Vinyl Graphics
For a large design, keep the vinyl release liner attached during positioning. Create a top or center hinge and apply the graphic in sections.
Avoid stretching the transfer film. Also avoid selecting unnecessarily high tack, because stronger pickup can increase removal force after installation.
YG Group Transfer Tape Formats
YG Group supplies clear PVC and PET transfer tape in finished-roll and jumbo-roll formats.
Film thickness, adhesive tack, release liner construction, roll dimensions, core size, winding direction, customized packaging and core printing can be discussed according to the application.
Jumbo roll availability depends on the product model and order requirements.
Frequently Asked Questions
What is the best way to apply transfer tape to vinyl?
Weed the vinyl, press the transfer tape onto the graphic and position the design. Remove the vinyl liner gradually, apply the vinyl with a squeegee and peel the transfer tape away slowly at a low angle.
Why is my vinyl not sticking to the transfer tape?
The transfer tape may have insufficient tack or incomplete contact with the vinyl. Matte surfaces, strong liner release force, cutting problems, contamination and uneven pressure can also cause failed pickup.
Should I remove the vinyl release liner before positioning the graphic?
Only remove it first for a small, easy-to-control graphic. For a medium or large design, keep the liner attached during positioning, create a top or center hinge and remove it gradually during application.
Why does the vinyl lift with the transfer tape?
The vinyl may not have bonded firmly enough, the transfer tape tack may be too high or the removal angle may be too steep. Press the graphic again and peel the tape more slowly at a low angle.
Is high-tack transfer tape better for small letters?
Not always. Small letters need enough pickup force, but the highest tack may make transfer tape removal more difficult. Match the adhesive to the vinyl surface and liner release force.
What information is required for a transfer tape quotation?
Provide the vinyl type, graphic size, tack requirement, film material, roll dimensions, core size, processing method and order quantity. Also state whether finished rolls or jumbo rolls are required.
Request a Transfer Tape Sample or Quotation
Correct application depends on the full combination of vinyl, vinyl release liner, transfer tape tack, graphic detail and installation method.
Send YG Group your vinyl type, graphic size, roll dimensions, processing method, estimated quantity and, where available, application photos or vinyl samples.
Our team can recommend a suitable transfer tape and arrange samples or a quotation based on the confirmed requirements.